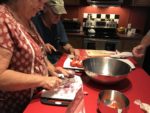
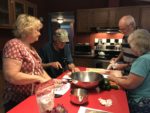
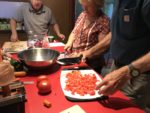
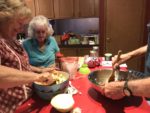
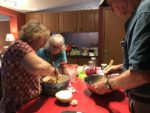
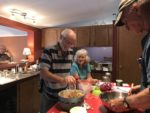
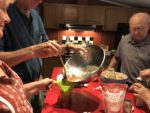
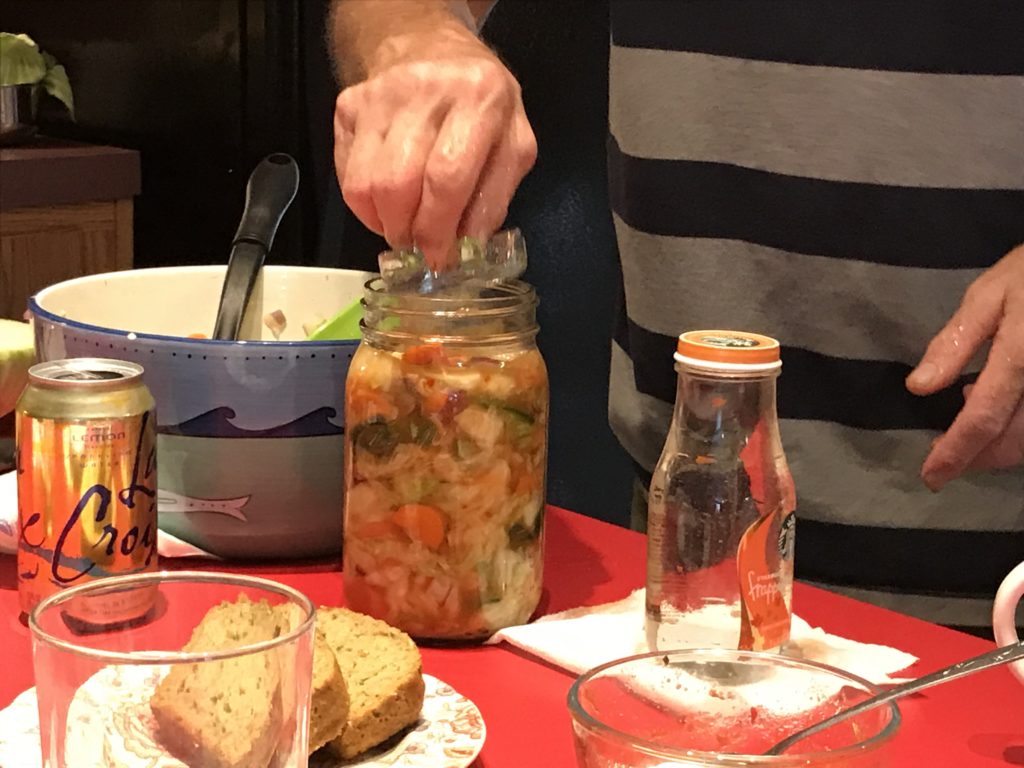
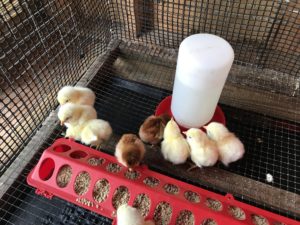
The “Preserving Food Simply” series is off to a tasty start with a successful first class: Simply Fermenting. Two couples attended the fermenting workshop that was held Friday afternoon at The Lost Arts House @ the Blue Hen Farm in the Mini-Farms section of Dunnellon. A good time was had by all and the “Salsa” and “Sauerkraut” results were delicious!
Fermenting Tops
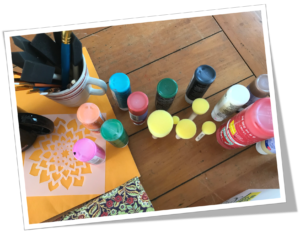
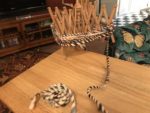
Garden Veggies
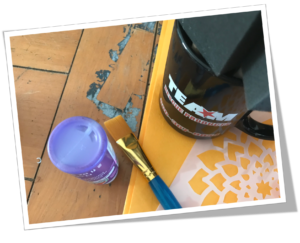
Simply Fermenting 7 Sept 2018
Simply Workshops:
Tues. Sept 18 or Sat. Sept 22nd Simply Fermenting
Tues. Sept 25 or Sat. Sept 29th Simply Pickled
Tues. Oct 2nd or Sat. Oct 6th Simply Canned
Winter 2017
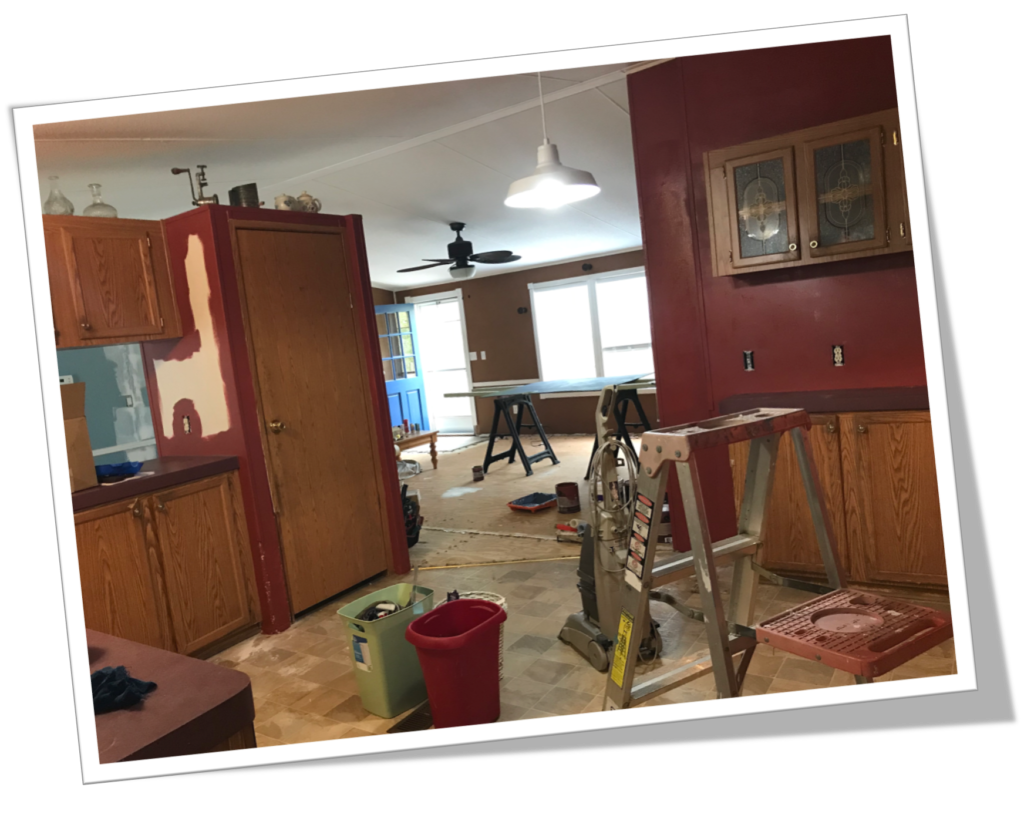
We’re starting the make-over on Blue Hen Farm.
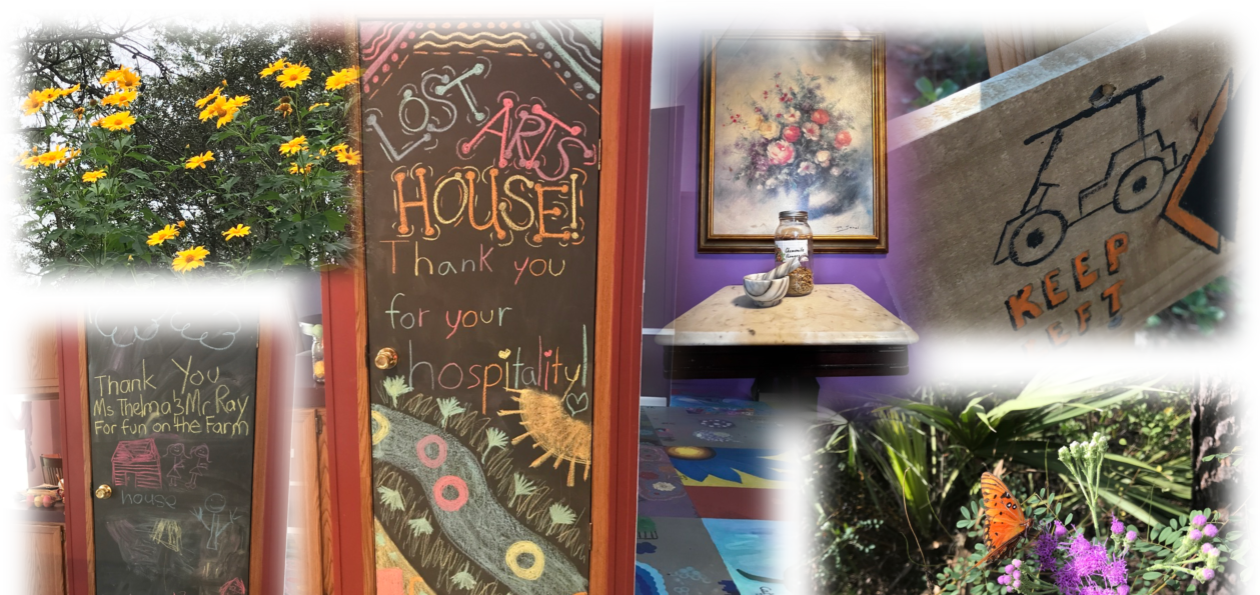
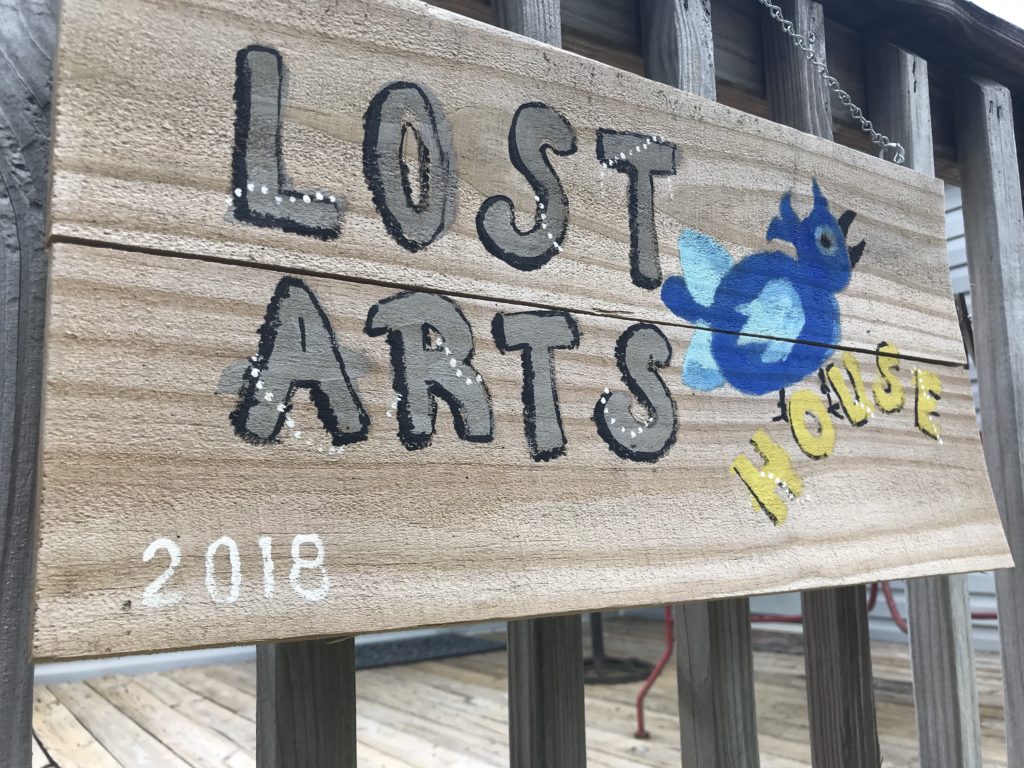
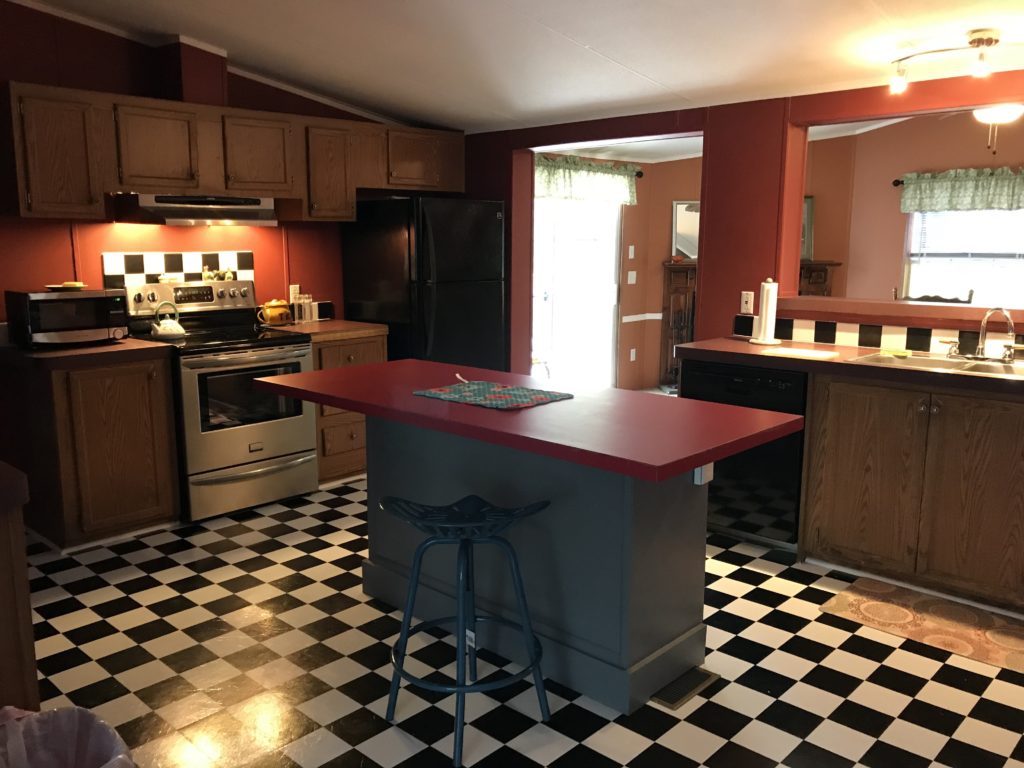
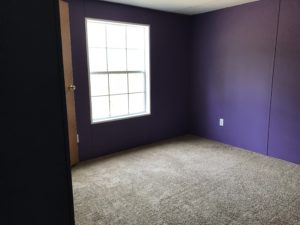
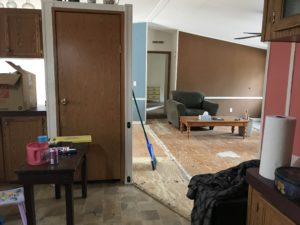
The main house at Blue Hen will be made-over into the “Lost Arts House”, workspace for artisan crafts, a small office, and resource room. Changing the flooring (removing rug in the main room), painting, and building an island in the kitchen are the first tasks to be completed Winter and Spring 2018. The chicken yard will be made-over into space for the Spring meat birds and a couple of goats.
Cheers,
Gus
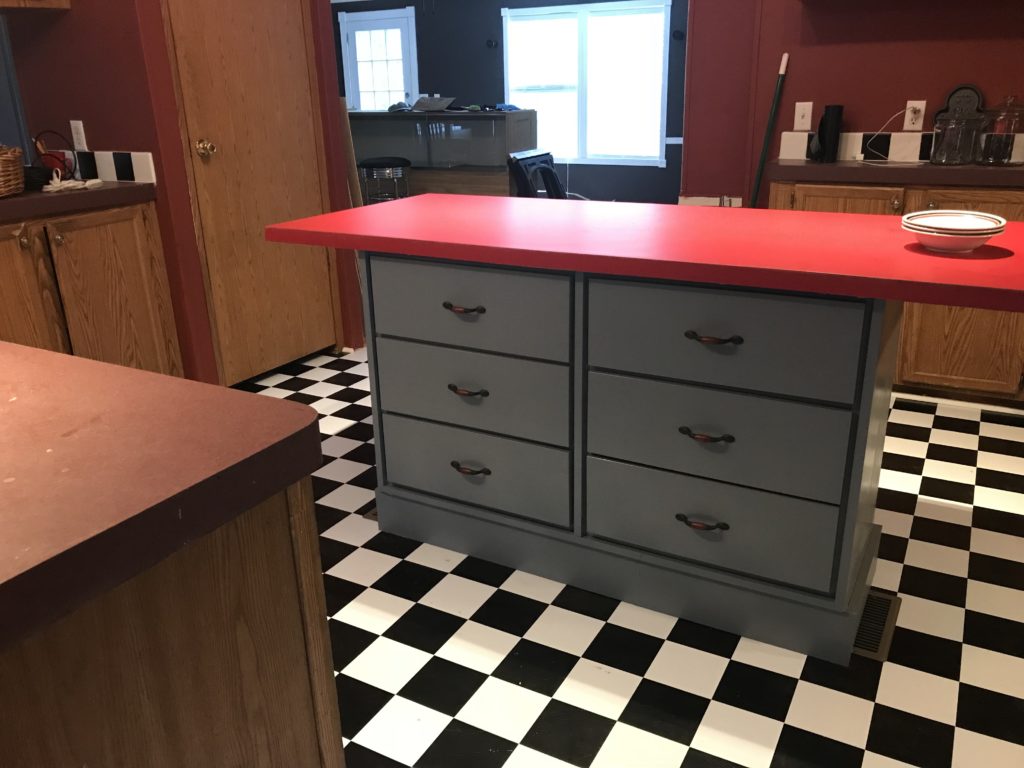
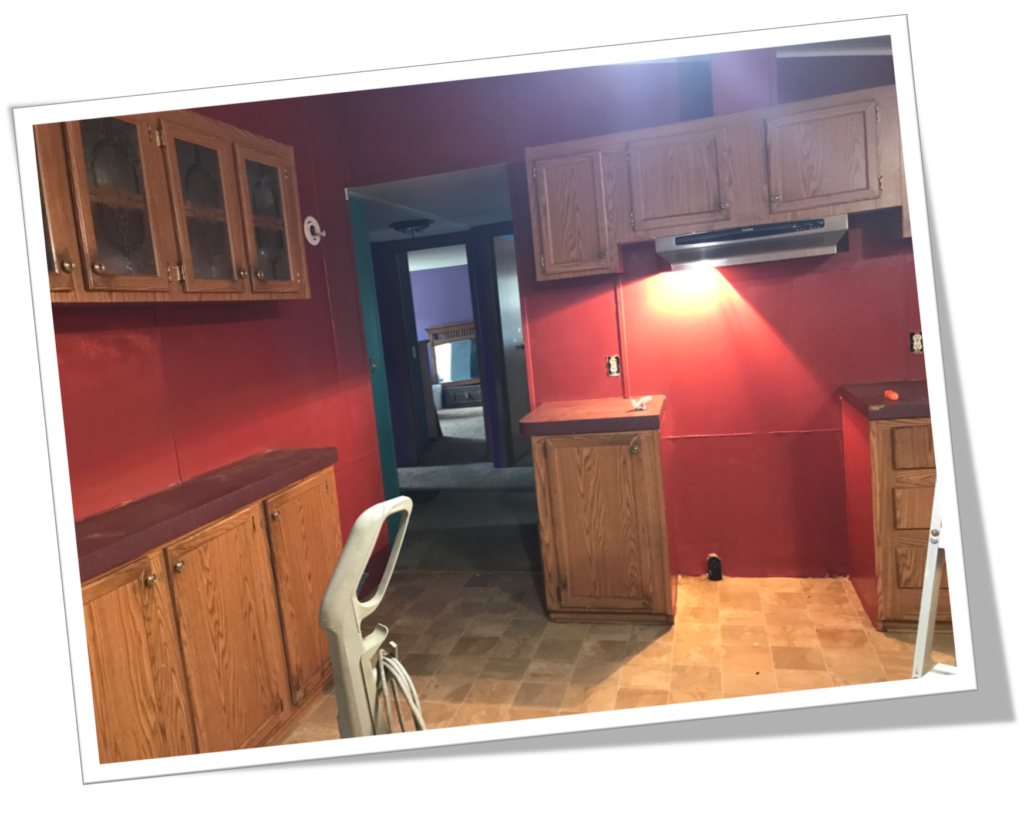
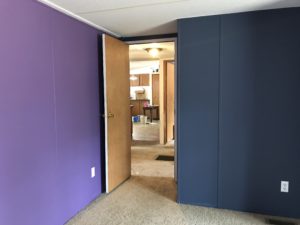
Kitchen looks great with the new paint job…Brick Red. Now to fix the trim and replace the flooring with the Oak & Acorn standard, black & white squares.
An island in the middle will give us plenty of workspace.
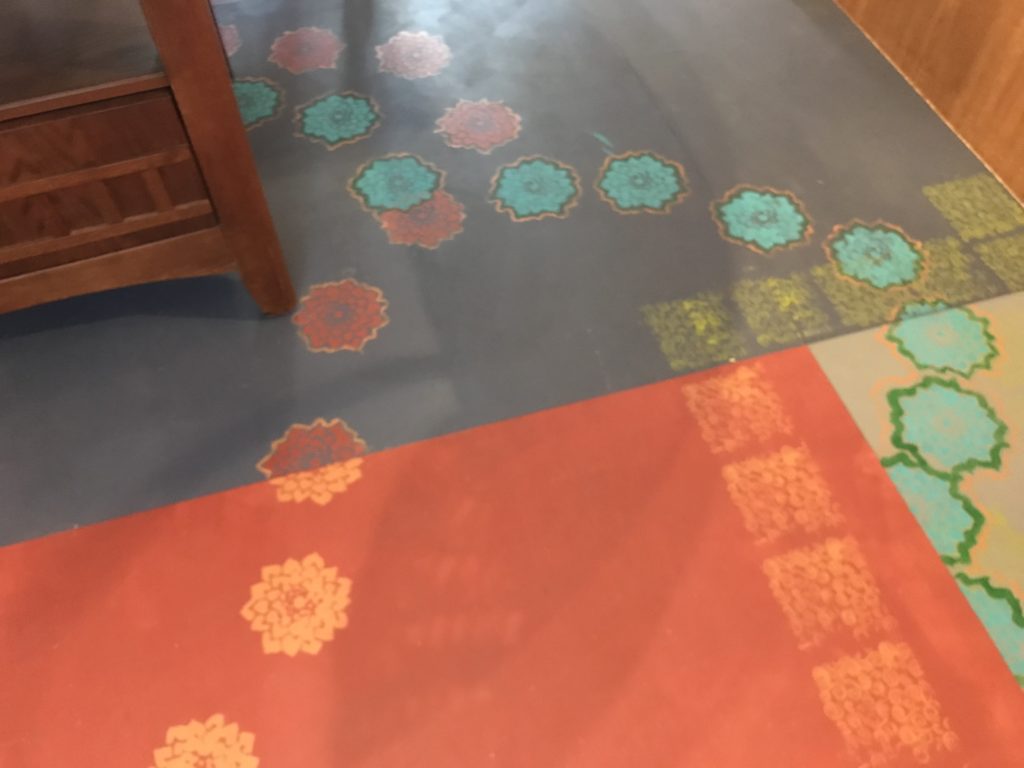
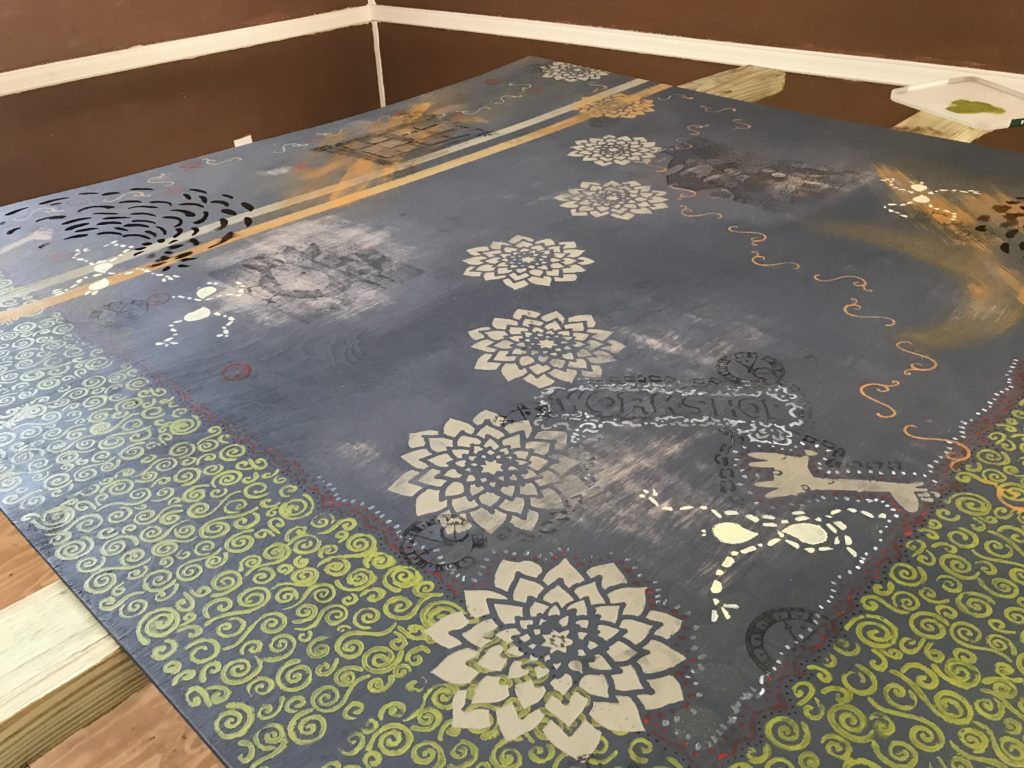
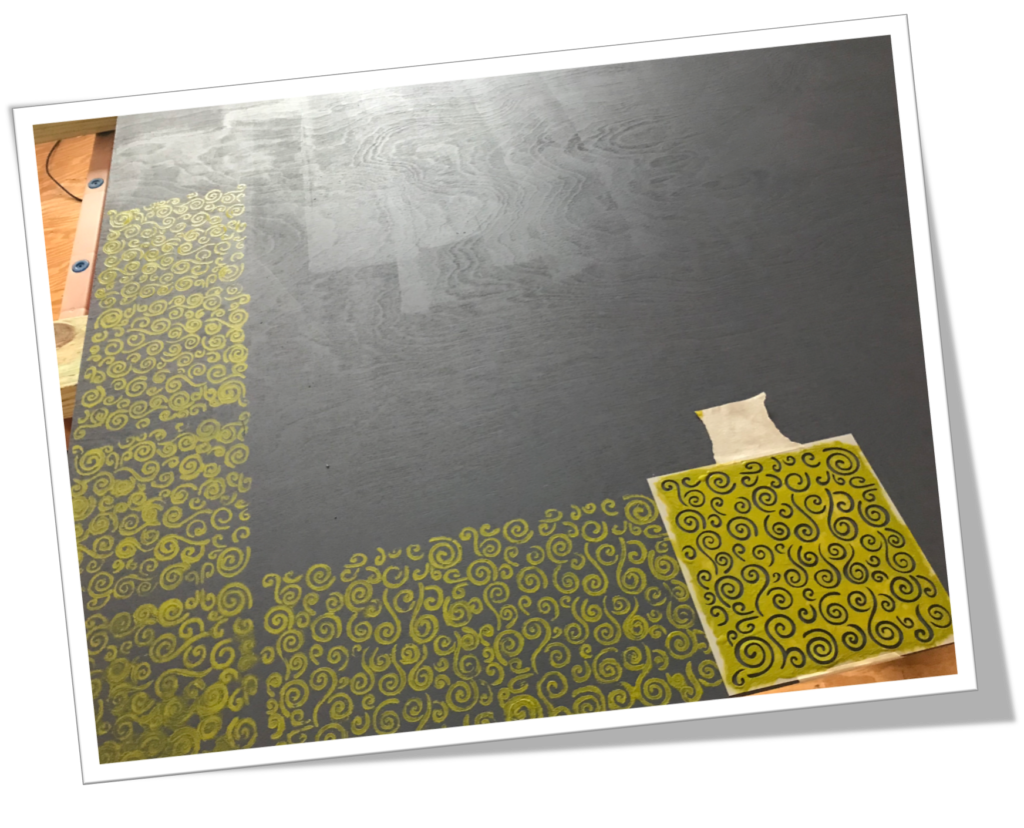
At the same time, we’re working on the Floor Project. The floor for the Main Workspace will be 1/4 inch plywood, polyurethane sealed 4’x 4′ squares. Each square will represent a part of the Fairhaven Community School project.
We got this idea from the “paper bag” floors that have been so popular in recent years. Here’s a pic of the first floor panel so far…a scary blank canvas. I’m sure it will get easier as we go along. We’re not sure how they will wear…will let you know.
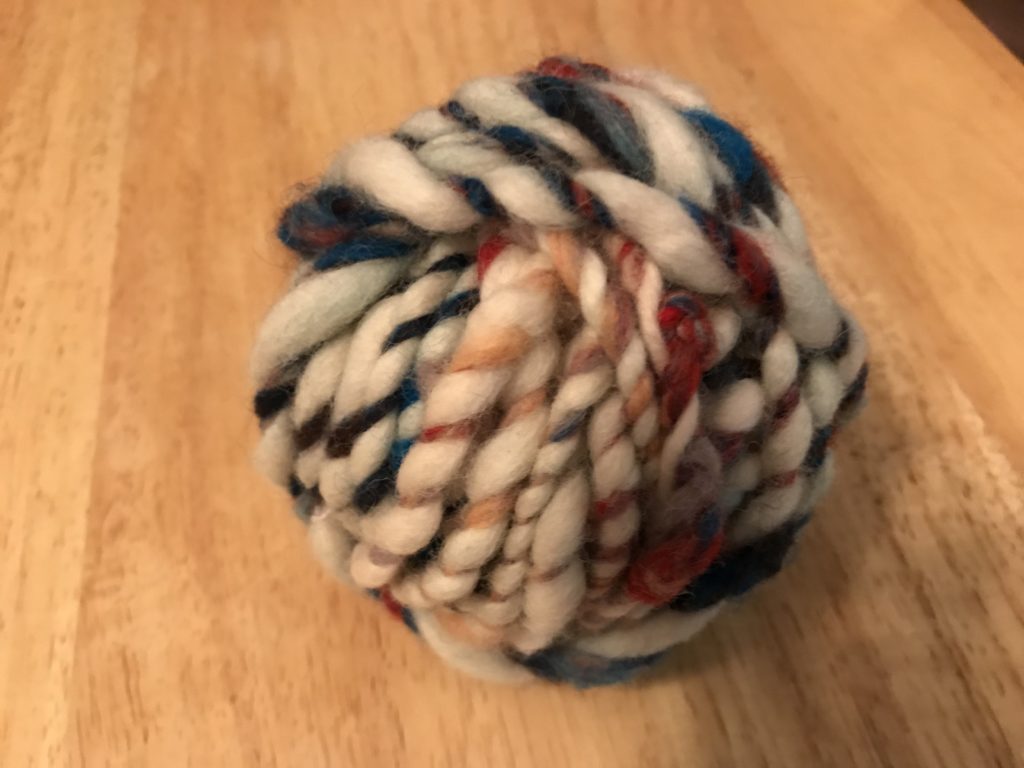
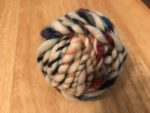
Yes, the yarn is very bright and showy…and a little “puffy” in places…yarn with a personality. Kind of “in your face” yarn. I’m just starting. You know, it takes 10,000 hours of practice to become good at anything! I have a ways to go.
I’m experimenting with dyeing the fiber as well. Purchased variety packs of colored fiber. Bought a fleece of Lincoln Locks that dyed up nice, green and pink. It’s lovely but hard to get out the vegetable matter. Broke two Mason Jars during the dyeing process. Make sure you don’t remove the jars from the hot water after dyeing. Take the pot from the burner and let the whole pot and jars cool down in place.
The food coloring works well for dyeing, although it’s a little tricky to get the shade of color you want. “Bright” seems to be easiest. I’ve also used the Ritz dye. Don’t bother with the fixative. Just use vinegar…white…straight.
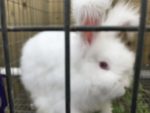
Terrence at 3 mos. Love the ears!
We’re going to raise Angora bunnies for fiber. Acquired Terrence on Feb 7, 2018. He is only three months old and his fur isn’t very long yet. He should be starting to shed pretty soon, and I’m collecting bunny fur. Half & Half the goat had a nice mane (!) That fiber is the opposite of Terrence’s, stiff and stick straight. Should make interesting yarn.
The first drop spindle I bought is too light-weight and doesn’t spin long enough at one time. Found a nice heavy flower shaped saucer that I can drill a hole in the middle for a dowel. That should work better.
The electric spinner (Electric Eel Wheel) we bought has given me a good start at machine spinning. With automatic speed and tension dials, I’ve been able to concentrate on the fiber itself rather than thinking about treadling at the same time. One issue with the Eel Wheel is that it won’t allow me to do “art yarn”. The hooks that guide the yarn onto the bobbin can’t handle the varying thicknesses, pop-its, and other do-dads that art yarn can have. Will have to save my pennies for another machine.
Let’s see, 4 hours a day, 5 days a week, 50 weeks…that’s 1,000 hours a year…10 years. I should be pretty good by 2028! “Blessed is he who sets his heart on pilgrimage.” Amen to that!
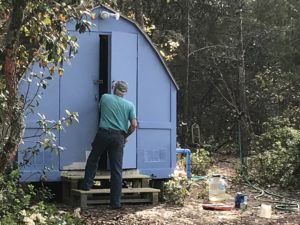
Workspaces – The Blue Hen Farm Project putts along, slow but sure. In the Lost Arts department we are continuing to refurbish the Lost Arts House, mostly repainting rooms at this point.
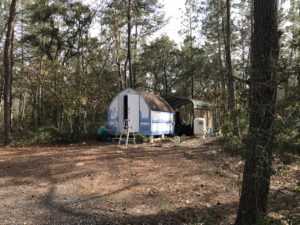
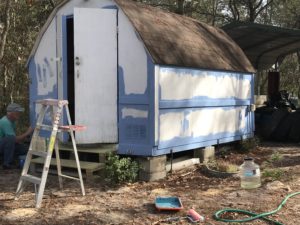
Guest Cottages – For the Oak & Acorn Hostel Project we continue to revamp the Workshop and Tilly for housing. Tilly has a new air and heating system, which is completely noiseless. That’s quite a change from the old (original) noisy air system. A screen porch on the front will add some usable space and a summer kitchen off the back will be nice.
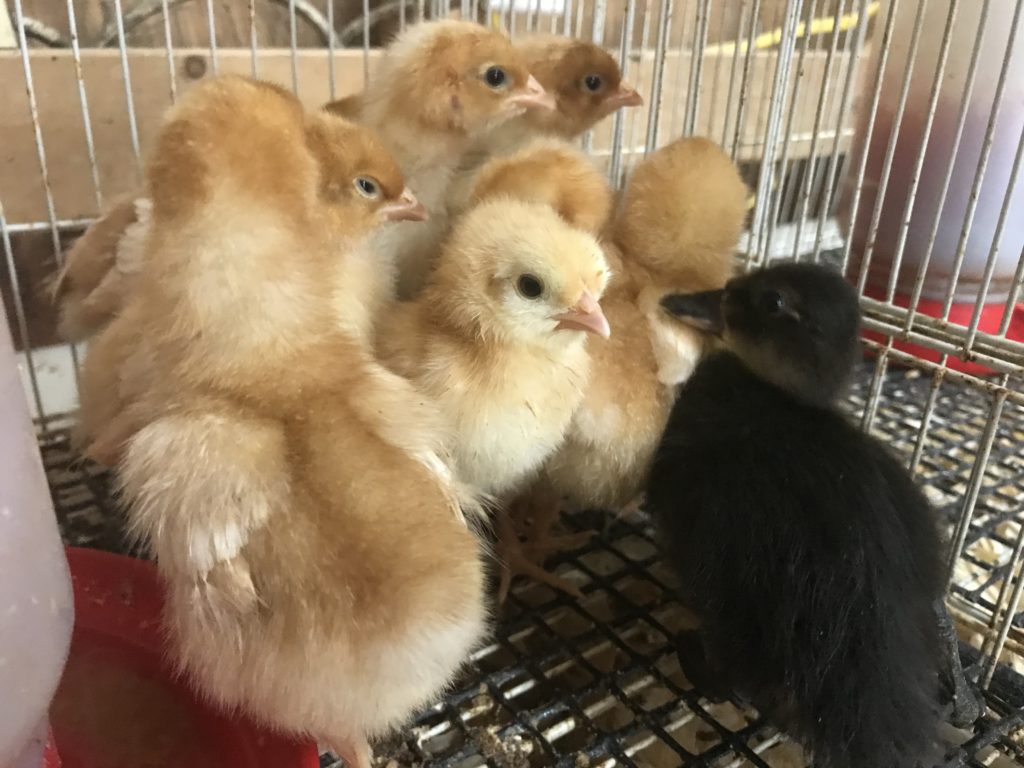
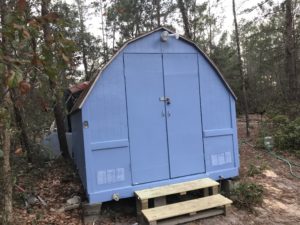
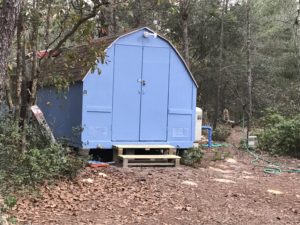
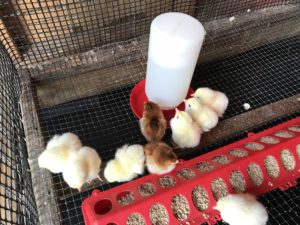
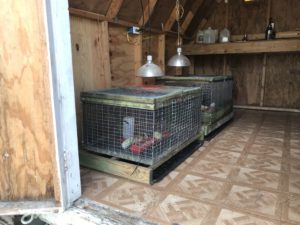
Livestock Management – The “Hatchery” has a new coat of paint and new steps. Just a little trim needed to finish up. The newbies start out there, and we will move the incubator to that space from the Firebee.
Right now we have half a dozen Rhode Island Whites and a couple of Reds, to hatch some of our own Red Stars Hybrids.
Our vision for the future…an agri-arts homestead and folk arts school. Each day we move a little bit forward. Some days we slip backward. The family has moved on. Blue Hen sits empty. It’s a sad site and the memories bring tears. But, you won’t get anywhere if you live in the past. Jan 2018 – We’ve turned the page and begun a new chapter.
The ‘Lost Arts House’…I like the name. We’ll start with the Teddy Bear project. We’ll get sewing machines and fabric, notions, and patterns, etc. We’ll research lost arts on YouTube and create resource packages and kits for making. Making the backpacks for the Teddy Bears that will hold the marketing materials for our other programs will be a great “Learn to Sew” project. Of course you can “learn to sew” at Joanne’s for $35 a lesson. Let’s see if we can sweeten the pot for the sew-crafters, like offering our homemade herb teas, kombucha, canned meats, “Stay the Day, and Take Home Your Supper”…a General Store with all the stuff we make here on the farm. A barter system. Remember green stamps? You get the idea.
No grant money yet, so the budget is shoestring, to say the least. We’re still cleaning up the downed trees from Hurricane Irma. That’s a slow process, but at least we have lots of stumps for goat play structures and oak for the fireplace. The running track is started. We’ll be fixing up the Workshop into a ‘tiny house’ space. Not sure what the space use will be yet. Maybe music.
Fam-Farm-Cations…Professional Development, learn new skills, and bring the family! We’ll have a Squirt Garden, Cardboard Construction, Spinning and Weaving classes, an Internship program, “Tales from the Farm” Book Art for primaries and parents…and a JUNK BAND!! I intend to spend my ‘End-of-Program’ years creating book art, spinning my own fibers (Angora Rabbits and Goat fibers), making art yarns, weaving, and conducting a musical ensemble…playing my own music, of course! Gosh I sound busy!
I’ve got some “before” pictures of Blue Hen Farm, but my computer is not cooperating at the moment, of course. As my granddaughter recently reminded me…”Be patient, be patient, don’t be in such a hurry. Remember, remember that you don’t need to worry…” and we both forgot the rest of the ditty that I used to sing to her when she was little. That’s okay. We’ll get there.
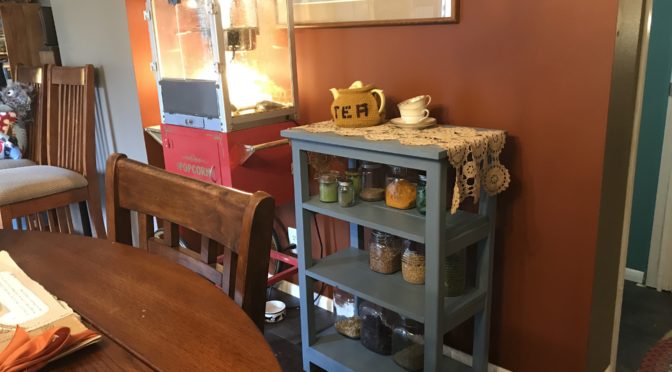
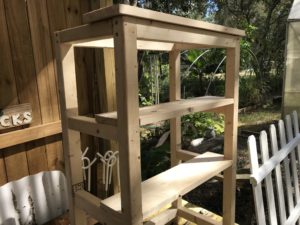
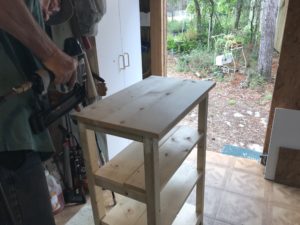
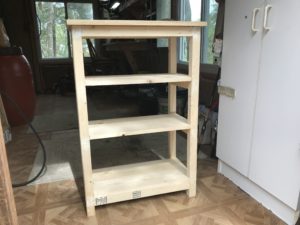
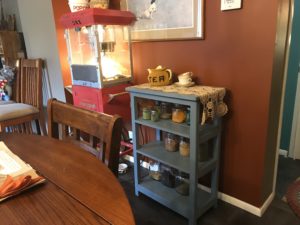
An inside construction project, an Herb Shelf out of #2 pine. These dimensions are for our shelf, which is 25″width x 15″depth x 37″height
Make your shelves far enough apart to hold your dried herb or seed jars. Ours are 12”, 12”, and 10”.
1×6 #2 pine 8ft
1×8 #2 pine 8 ft
1×10 #2 pine (measure for top)
2 – 2×4 (not pressure treated!) 8 ft
3” deck screws
Small finish nails
Wood Glue
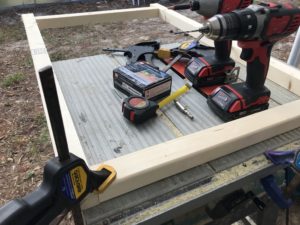
Cut one 2×4 in half widthwise. Rip each half in half again lengthwise. You will have 4 – 2×2 (1 3/4 x 1 1/2) for legs. Cut each leg to 3 feet, or desired height.
Add width pieces top and bottom.

attach cross pieces
Rip second 2×4 in half lengthwise. Cut 4 lengths for desired width. Cut 8 lengths for desired depth. For each joint, use either one deck screw and wood glue or 2 deck screws.
Screw 2 of widthwise-2x2s inside legs at top and 2 at bottom. At bottom, leave 2” for feet. This is front and back. Mark shelf heights on sides. (Remember that the shelf height is measured from the top of the cross piece to the top of the higher cross piece above.)
Screw 8 of depthwise – 2x2s to front and back at top and bottom and desired shelf heights.


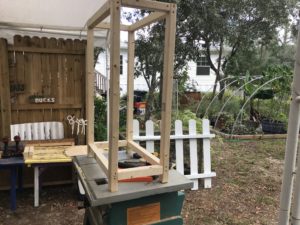
Cut 3 sets of lengths of 1×6 and/or 1×8 to width for shelves (Depending on the desired dimensions, use one or the other or a combination to get the depth you want.)
Notch shelves
Notch the front and back shelf boards to fit the 2×2 legs (1 3/4 x 1 1/2)

Attach top and shelves with finish nails
Cut the 1×10 to fit the top, leaving a 1 1/2” overhang at front and back, if desired. Attach the top and shelves with finish nails.

Sand, prime, and paint
Wood putty all nail holes. Sand, prime, and paint the shelves.