
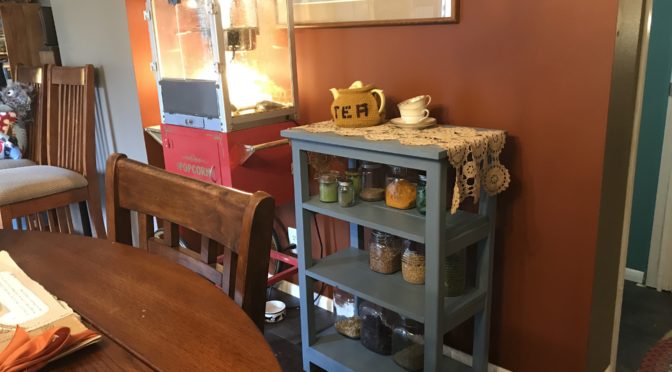
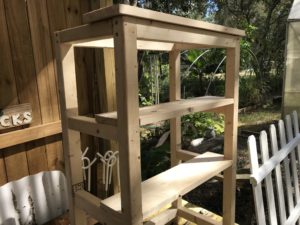
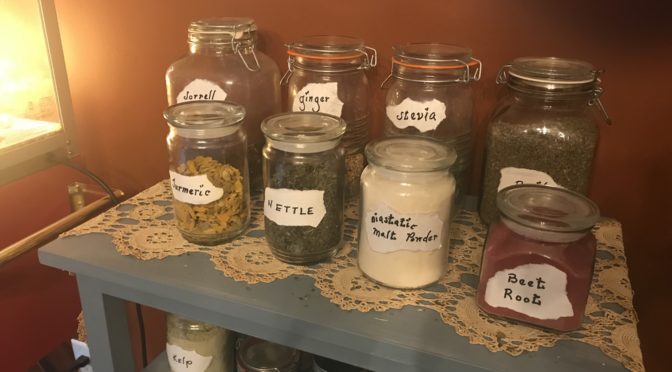
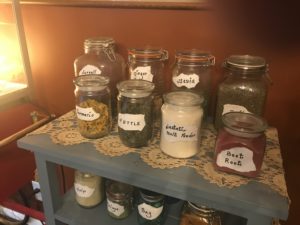
An inside construction project, an Herb Shelf out of #2 pine. These dimensions are for our shelf, which is 25″ width x 15″ depth x 37″ height
Make your shelves far enough apart to hold your dried herb or seed jars. Ours are 12”, 12”, and 10”.
1×6 #2 pine 8ft
1×8 #2 pine 8 ft
1×10 #2 pine (measure for top)
2 – 2×4 (not pressure treated!) 8 ft
3” deck screws
Small finish nails
Wood Glue
Cut one 2×4 in half widthwise. Rip each half in half again lengthwise. You will have 4 – 2×2 (1 3/4 x 1 1/2) for legs. Cut each leg to 3 feet, or desired height.
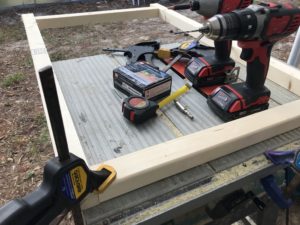


Rip second 2×4 in half lengthwise. Cut 4 lengths for desired width. Cut 8 lengths for desired depth. For each joint, use either one deck screw and wood glue or 2 deck screws.
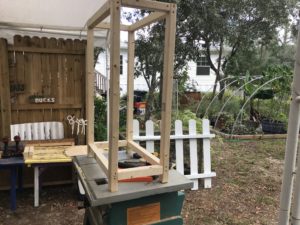
Screw 2 of widthwise-2x2s inside legs at top and 2 at bottom. At bottom, leave 2” for feet. This is front and back. Mark shelf heights on sides. (Remember that the shelf height is measured from the top of the cross piece to the top of the higher cross piece above.)
Screw 8 of depthwise – 2x2s to front and back at top and bottom and desired shelf heights.

Cut 3 sets of lengths of 1×6 and/or 1×8 to width for shelves (Depending on the desired dimensions, use one or the other or a combination to get the depth you want.)
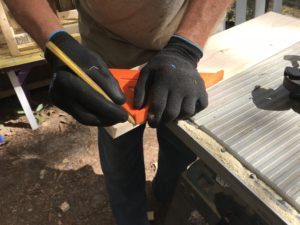
Notch the front and back shelf boards to fit the 2×2 legs (1 3/4 x 1 1/2)

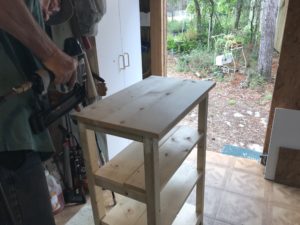
Cut the 1×10 to fit the top, leaving a 1 1/2” overhang at front and back, if desired. Attach the top and shelves with finish nails.

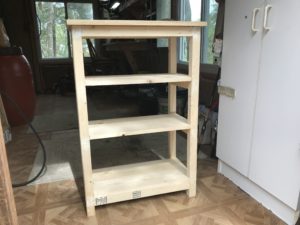
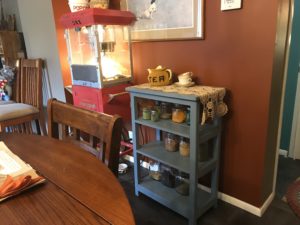
Wood putty all nail holes. Sand, prime, and paint the shelves.
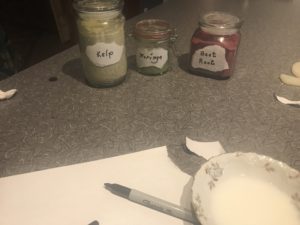
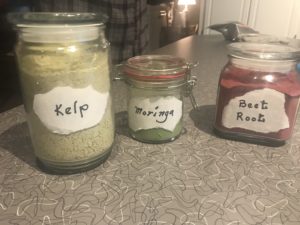
Add herbs…


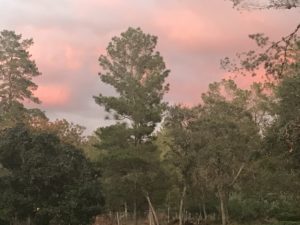
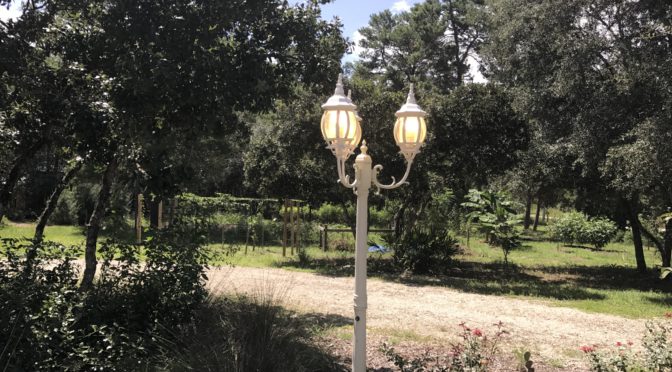
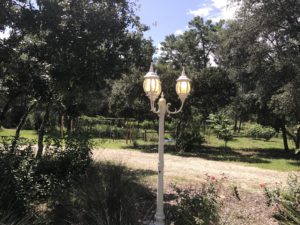 The only way we knew the eclipse was happening was when our solar lamppost light turned on. Seriously.